

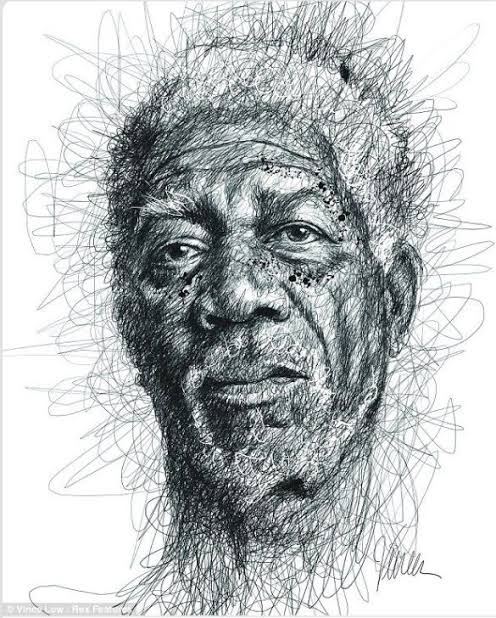
Shading is the soul of visual art. It brings life, depth, and dimension to flat surfaces, transforming simple lines into realistic forms that seem to leap off the canvas or page. Whether you’re drawing, painting, or working digitally, mastering shading is essential for creating compelling and visually engaging work.
In this guide, we’ll explore shading techniques, share practical tips, and uncover how shading has been used by artists across cultures to elevate their craft.
Why Shading Matters
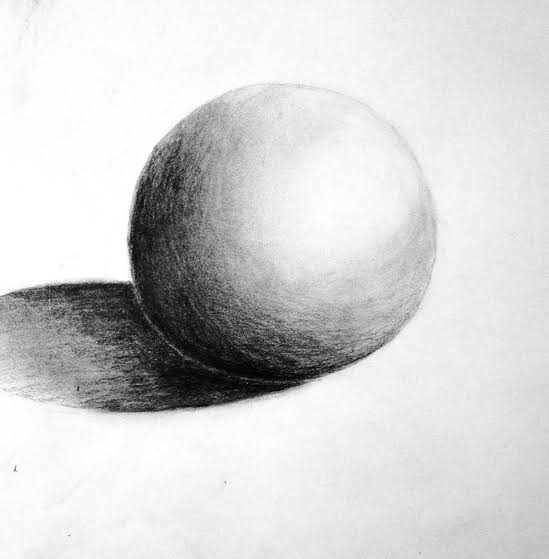
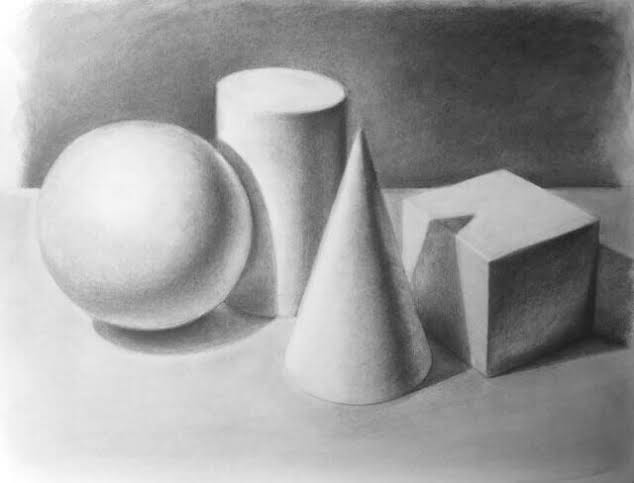
Imagine a sphere drawn on paper. Without shading, it’s a flat circle. Add gradients of light and shadow, and suddenly, it becomes a three-dimensional object you can almost pick up. Shading is what gives your art a sense of form and realism.
Shading is more than a technical skill—it’s a way to evoke mood and emotion. Soft, blended shadows can create a sense of serenity, while sharp contrasts can add drama or tension.
The Fundamentals of Shading
To master shading, you first need to understand how light interacts with objects. Key elements include:
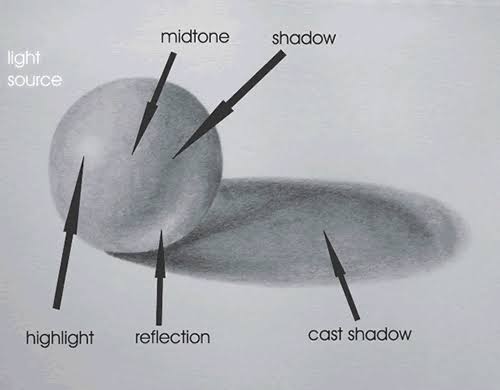
Light Source: Determines where the highlights and shadows fall.
Highlights: The brightest areas where light directly hits the object.
Core Shadow: The darkest area on the object, away from the light.
Midtones: The gradient between the highlights and core shadow.
Cast Shadow: The shadow an object projects onto a surface.
Shading Techniques
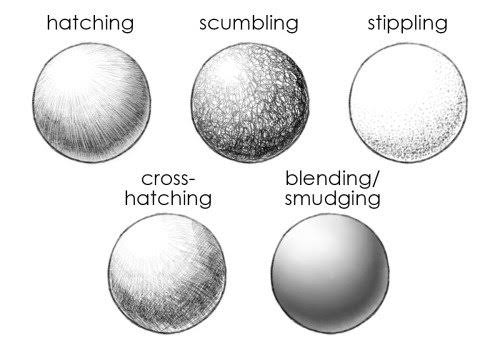
- Hatching
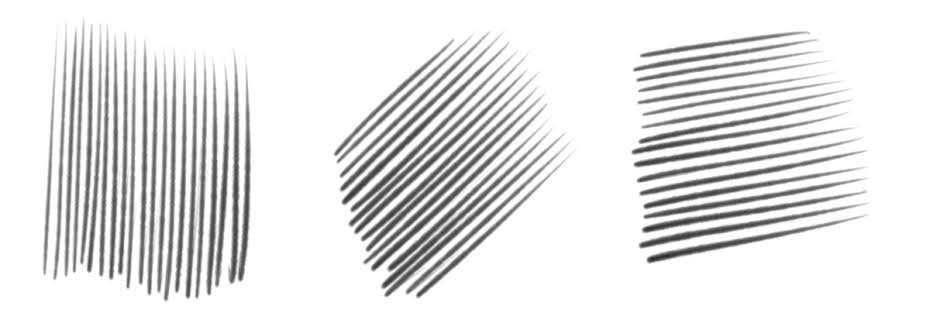
Hatching involves drawing parallel lines close together to create shadow and texture.
Pro Tip: Vary the line thickness and spacing to control the darkness. For example, tightly spaced lines create a darker effect.
- Cross-Hatching

An extension of hatching, cross-hatching layers lines in a crisscross pattern.
Pro Tip: Experiment with the angle and density of the cross-lines to achieve smoother transitions between light and shadow.
- Blending
Blending creates smooth gradients using tools like blending stumps, fingers, or tissue.
Pro Tip: Use a light touch to avoid smudging excessively and losing details.
- Stippling
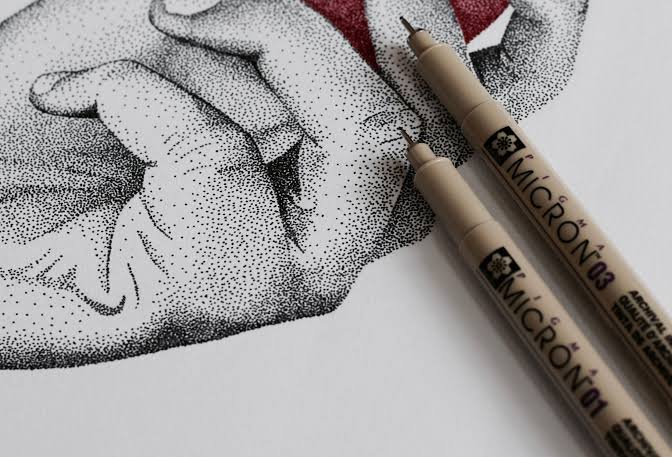
Stippling uses tiny dots to build up shadow and texture.
Pro Tip: The closer the dots, the darker the area. Patience is key with this meticulous technique.
- Scumbling
Scumbling involves layering small, circular scribbles to build texture and tone.
Pro Tip: This technique works wonderfully with soft media like graphite or charcoal.
- Gradient Shading
This technique transitions smoothly from light to dark without visible lines.
Pro Tip: Use tools like a kneaded eraser to lift highlights for added depth.
Practical Tips for Better Shading
- Understand Your Light Source
Before you start, identify where the light is coming from. This will guide your shading and ensure consistency. - Start Light, Build Gradually
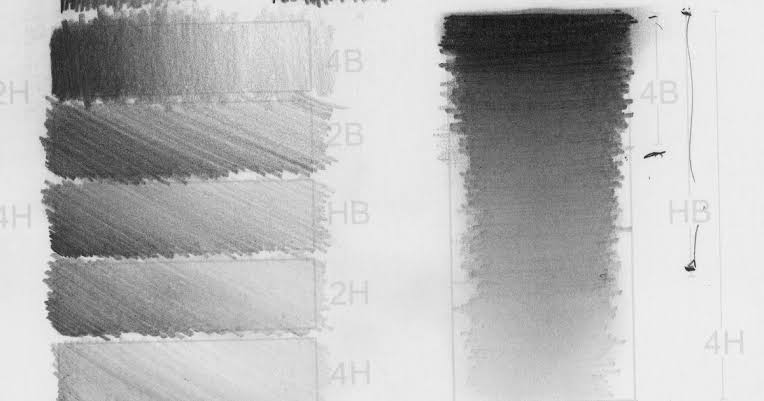
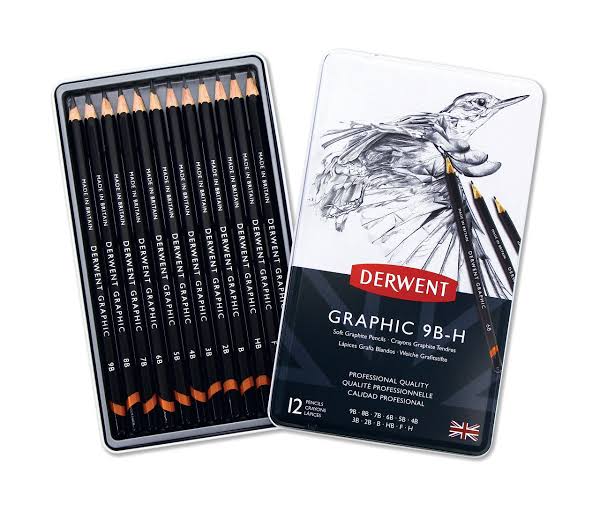
It’s easier to darken shadows than to lighten them. Begin with soft strokes and layer as needed. - Use Quality Materials
Invest in good pencils (ranging from HB to 6B for shading), paper, and erasers. The right tools can make a significant difference. - Practice Observation
Study real-life objects under different lighting conditions. Observe how shadows shift and change. - Experiment Fearlessly
Try combining techniques—such as blending with hatching—to create unique effects.
Shading isn’t just for traditional art—it’s equally vital in digital art, where tools like gradients, soft brushes, and opacity settings mimic real-world techniques. Apps like Procreate and Photoshop offer infinite possibilities for shading, from soft airbrush effects to textured brushes for cross-hatching.
Conclusion
Shading is an essential skill that transforms your art from flat to full of life. Whether you’re a beginner practicing hatching or an experienced artist exploring mixed techniques, shading opens endless creative possibilities.
So, grab your tools, find your light source, and start adding depth and emotion to your work. Shading isn’t just a technique—it’s the key to making your art truly unforgettable.

One thought on “Mastering the Art of Shading: Techniques and Insights”